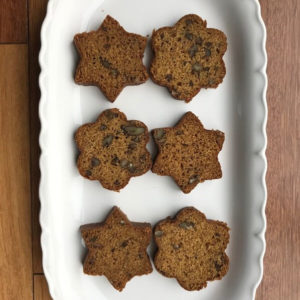
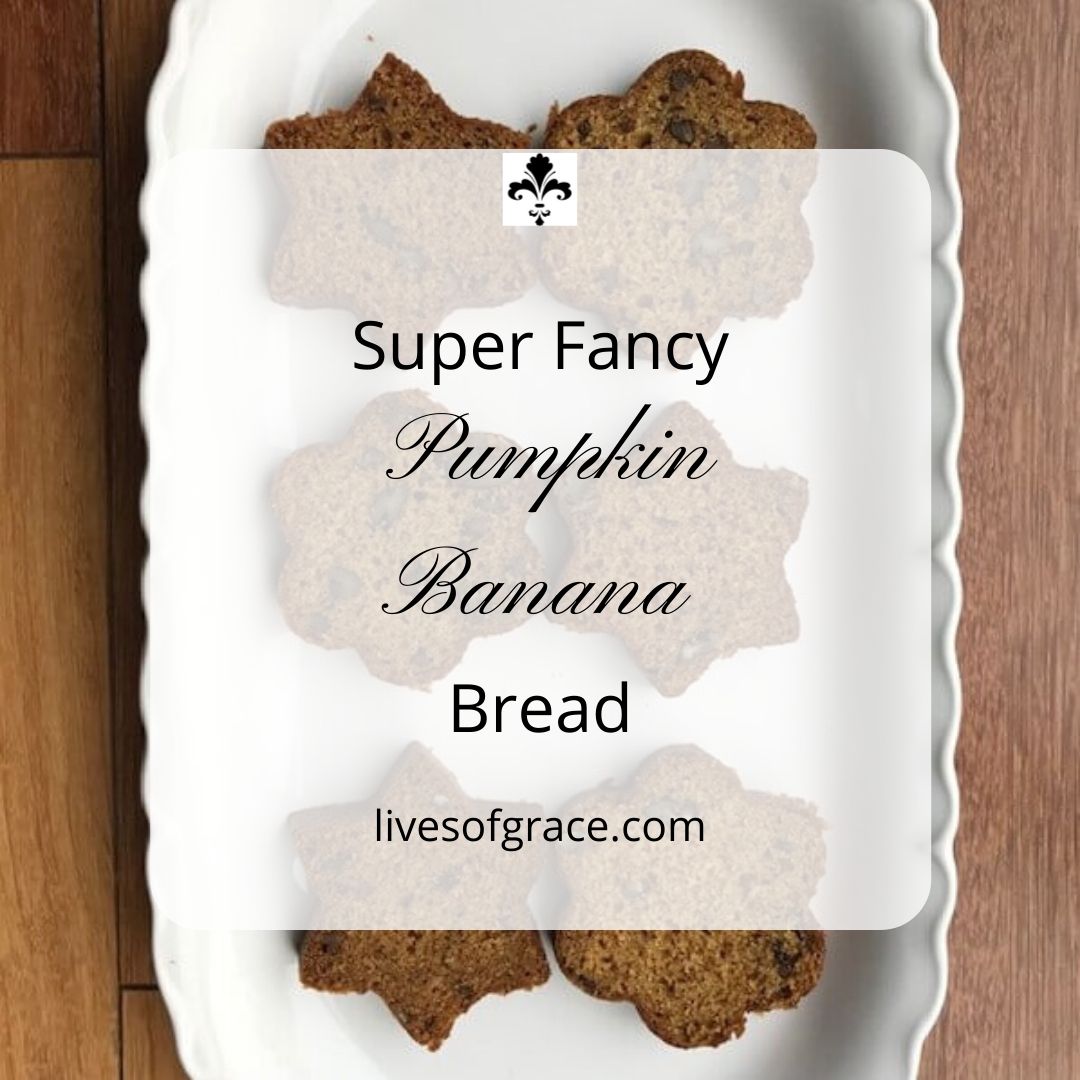
This pumpkin bread is not only fancy (are you wondering how those shapes are made?), but has an ingredient that makes it smooth and creamy (if bread can actually be creamy). I had a leftover banana that was looking a little lonely on the counter, so I decided to mash it up and add it to the original pumpkin bread recipe just to see if it changed up anything.
Well, my husband, who is the pumpkin bread expert, raved about it. Now, I will probably add that banana every time I make pumpkin bread. It adds a silkiness and moisture, with a hint of banana but not too overwhelming.
How do you make it in those shapes????
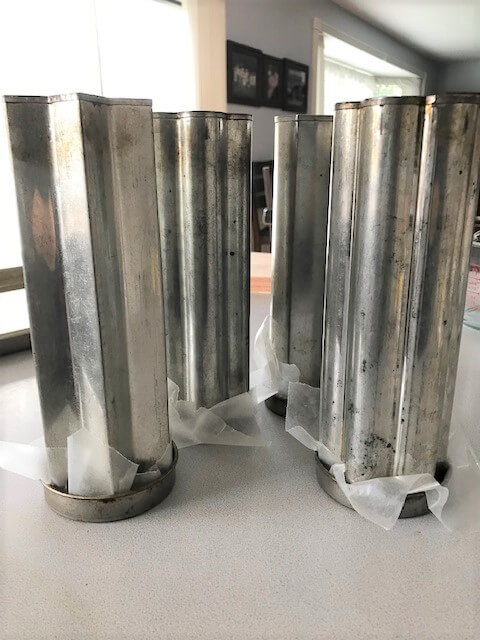
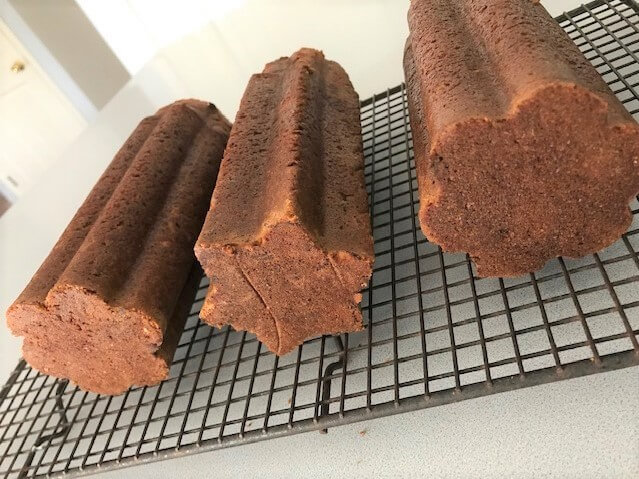
I love simple things that look amazing! The shapes are made with bread tins. Which you can buy here. (I do not receive any affiliate income.)
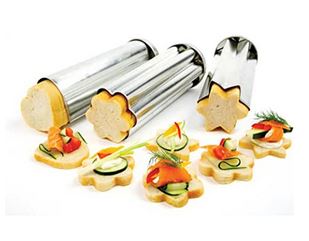
These bread tubes are easy to use and can replace standard bread loaf pans for any quick bread recipes. I’m sure there are a lot of other uses for them, but I’ve only used them to make breads. They come in the set of three (heart, flower, star).
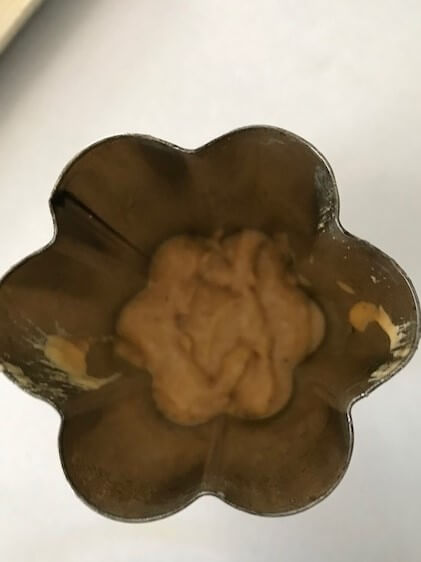
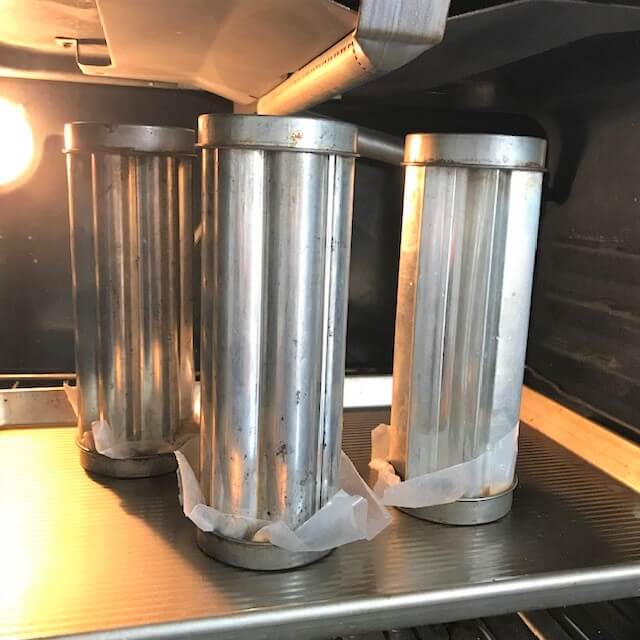
So, when you use these bread tins, you’ll spray the inside with non-stick spray, then cut squares of wax paper and place the bottom cover with the wax paper onto the tube. Stand it upright and fill the tube 1/2 way. Place the cover on top. You’ll bake these standing up, so make sure you put your racks on the lower settings in your oven.
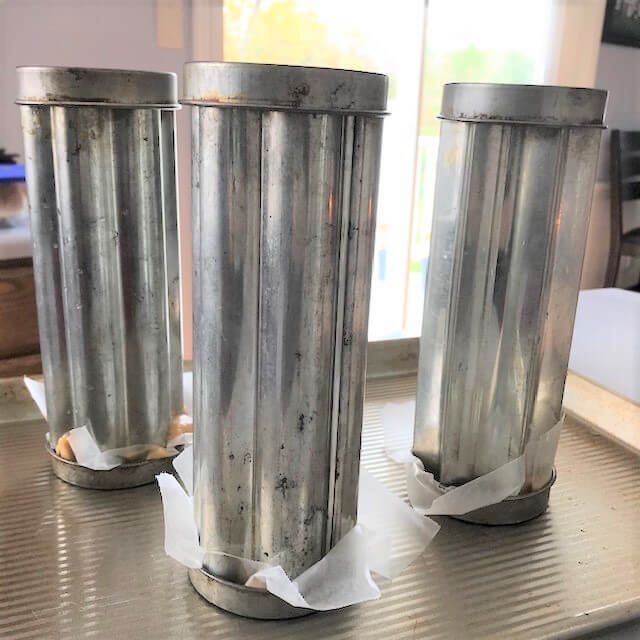
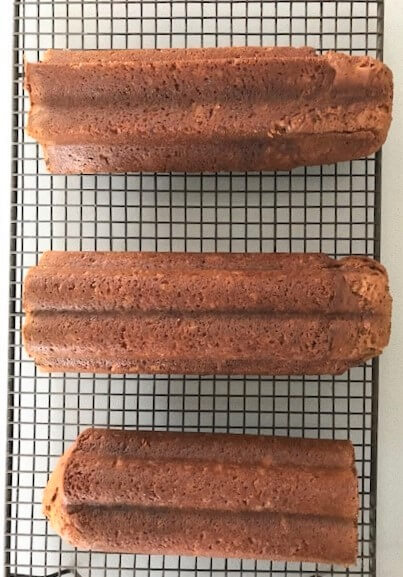
If you fill your bread tubes, then get a phone call and talk too long on the phone before you get them in the oven……they will start to seep. (See the lower left.) But, no worries, go ahead and put them in the oven. That can be cut off when you get them out of the oven.
Bake them for the same amount of time you would bake a normal bread tin. Let them cool upright for about 10-15 minutes, then take off the bottom and remove the wax paper. I usually take knife and release the bottom from the tin. Take off the top cover and slowly slide the bread out of the tube. Make sure to let them completely cool before slicing – well, not completely, as the bread is excellent warm! FYI, the longer you let the bread cool before slicing, the more moisture it retains.
Slice, and enjoy! You’ll love hearing the question from guests, “How’d you do that?”.
Have a great week!
Janet
P.S. These are perfect to make ahead and freeze for the holidays!
Super Easy & Fancy Pumpkin Bread
Equipment
- loaf pans or specialized bread tubes
Ingredients
- 2 cups sugar
- 3 cups flour
- 2 tsp baking soda
- 1 tsp ea. ground cloves, cinnamon, nutmeg, salt
- ½ tsp baking powder
- 1 med. banana, mashed
- 1 16 oz can pumpkin
- 3 eggs, slightly beaten
- ⅔ cup vegetable oil
- 1 cup walnuts or pecans, if desired
Instructions
- Preheat oven to 350°. Make sure racks are at lowest level.
- Lightly spray inside of baking tubes with non-stick spray. Place square of wax paper over one cap and insert over end of tube. (Prevents bread from sticking to cap.)
- Whisk the first 8 ingredients together in a mixing bowl. Add mashed banana, pumpkin, eggs, and oil (and nuts if desired) and mix well but don't over mix.
- With tubes standing upright on a cookie sheet and using a large spoon, spoon batter into tubes, filling half-way. Place cap over tube.
- Bake for 55-60 minutes.
- Take cookie sheet outwith bread tubes, and let cool (tubes should still be upright) for 10 minutes. Gently take off bottom cap, remove wax paper, use a knife to loosen the bread from the bottom of the tin. Take off top cap and slide bread out over cooling rack.Cool completely.
- The most efficient way to wash the tubes is to fill the sink with warm soapy water and let them soak for about 20 min. Then wash inside and out as well as caps. Stand upright to dry.



3 Comments
Susanne
2019 at 9:31 AMHow fun?! Now I know your secret! 😁
Janet Quinlan
2019 at 9:32 AM🙂
Janet, Medway, MA
2021 at 5:06 PMBrilliant! I have the heart and star pans. For years I’ve only made bread machine buttermilk bread in them. I just happened to do a Google search for pumpkin bread instead and that led me to your site. I can’t wait to bake the pumpkin bread!